Picture this: the first chilly night of fall settles in, and you’re tucked inside, enjoying a warm, cozy home. But behind the walls and under the floors, your plumbing is already facing the season’s first test. One small drip, an uninsulated pipe, or a neglected water heater can turn that comfort into chaos when temperatures drop below freezing.
The truth is, many plumbing problems start small but become major headaches in winter. A frozen pipe can burst and flood a basement. A worn sump pump can fail right when heavy rain or snowmelt floods into your home. Even a hidden pipe leak can grow worse in the cold and cause lasting damage.
The good news? You can prevent most of these problems with some simple indoor plumbing maintenance in the fall. Here’s a four-step checklist that will keep your plumbing system ready for the months ahead, giving you peace of mind all winter long.
Step 1: Insulate Your Exposed Pipes
When water freezes inside a pipe, it expands. That pressure can cause even the strongest pipe to burst, spilling hundreds of gallons of water into your home. A burst pipe can release up to 250 gallons of water per day if left unchecked.
Why insulation matters: Pipes in unheated areas—like basements, crawl spaces, attics, and garages—are most at risk. Even pipes along exterior walls inside your home can be vulnerable.
What to look for: Take a quick walk through these areas. Note any exposed pipes, especially those in unheated areas or close to exterior walls.
How to insulate: Foam pipe insulation is inexpensive, widely available at hardware stores, and easy to install. Simply measure the length of exposed pipe, cut the foam to size, and slip it over. For added protection, secure the insulation with tape at the seams. This small investment of time and money can save you from a costly mess later.
Step 2: Give Your Water Heater a Fall Tune-Up
Your water heater works harder in the winter. Not only is incoming water colder, but your family is often using more hot water for showers, laundry, and dishes. A neglected unit has to work even harder if sediment has built up inside the tank.
Why it matters: Sediment buildup reduces efficiency and increases the risk of rust and leaks. It can also shorten the lifespan of your unit. According to the U.S. Department of Energy, water heating makes up about 18% of a home’s total energy use. Keeping your unit efficient can make a noticeable difference on your monthly bills.
What to do: Drain a few gallons of water from the tank to flush out sediment. Place a bucket under the drain valve, open it slowly, and let water flow until it runs clear. This simple step can restore efficiency and improve your heater’s performance.
Professional option: While a partial flush can be a DIY task, fall is also the perfect time to schedule a professional water heater check. A technician can inspect the tank for signs of wear, test safety valves, check for leaks or rust and fully flush your tank. If you have a tankless water heater, the technician will provide descaling and other maintenance. If your water heater is older, this proactive step can save you from waking up to a cold shower on a frigid morning.
Step 3: Test Your Sump Pump Before the Snow Flies
Basement flooding isn’t just a spring problem. Heavy fall rains and sudden snowmelt in early winter can overwhelm your foundation if your sump pump isn’t working.
Why it matters: A failed sump pump leaves your basement vulnerable to water damage, mold, and costly repairs. FEMA estimates that even one inch of flooding in a home can cause $25,000 in damage.
How to test it: Fill a bucket with water and pour it directly into the sump pit. The pump should kick on quickly, drain the water, and shut off automatically.
When to worry: If the pump doesn’t start, runs continuously, or makes unusual noises, it’s time to have it serviced. Don’t wait until you see water seeping across your basement floor—by then it’s too late.
Step 4: Play Detective and Check for Leaks
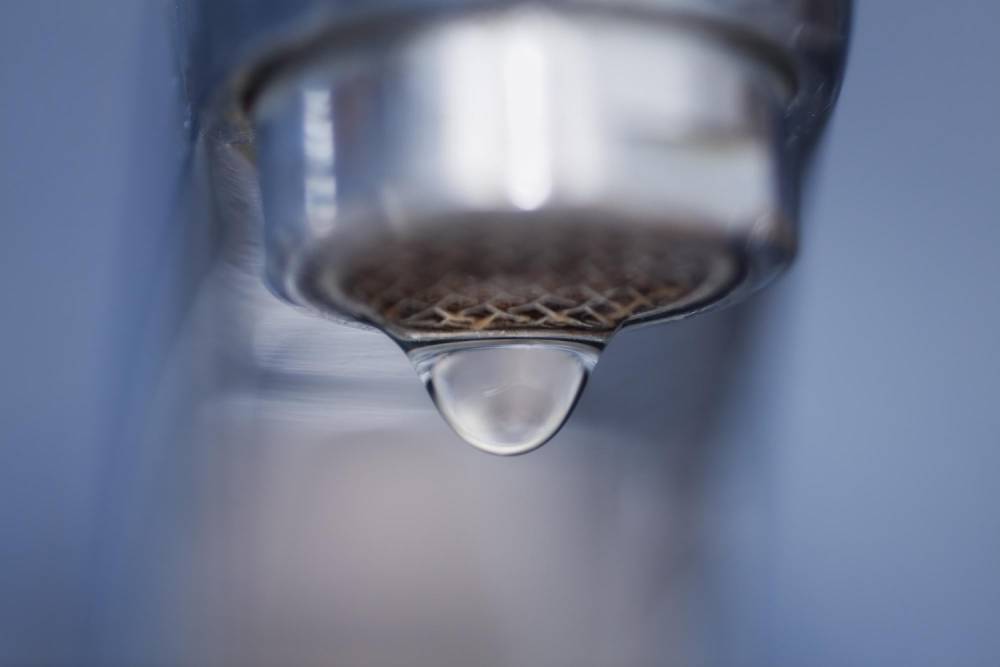
Not all plumbing problems announce themselves loudly. Sometimes it’s the slow drip under a sink or the faint musty smell near a bathroom that signals trouble. These small leaks may not seem urgent, but once winter sets in, they can freeze, expand, and cause bigger damage.
Why it matters: Even a small leak wastes water and drives up utility bills. The Environmental Protection Agency estimates that household leaks can waste nearly 10,000 gallons of water every year.
Where to look: Start by checking under sinks, behind toilets, and around water-using appliances like dishwashers and washing machines. Look for water stains, damp spots, or rust. Don’t forget to inspect the basement and utility rooms as well.
The tell-tale signs: Watch for warped flooring, bubbling paint, or a musty odor. These often point to hidden leaks. If you spot them, it’s worth calling a professional to locate and fix the source before it turns into something bigger.
Preparing Your Plumbing for Winter
Winter is tough on homes, but your plumbing doesn’t have to be one of the stress points. By insulating pipes, tuning up your water heater, testing your sump pump, and checking for leaks, you’re tackling the most common trouble spots before they cause real damage.
Proactive care not only protects your home but also gives you peace of mind—you’ll know your plumbing is ready to handle whatever Minnesota weather brings.
If you’d like added reassurance, consider scheduling a professional plumbing check-up. At Connors Plumbing & Heating, we’ve been helping local homeowners prepare their homes for winter since 1949. Our team can spot issues you might miss and make sure every part of your system is ready for the season. Call Connors today or schedule online to book your fall plumbing service—and head into winter with one less thing to worry about.